How to Update Your Kitchen Backsplash for Under $50 (Designer-Approved Ideas That Look Expensive)
Why the Backsplash Matters More Than You Think
If there’s one detail in the kitchen that often gets overlooked, but has the power to transform the entire space, it’s the backsplash. As a kitchen designer, I’ve seen it happen dozens of times: a client is unhappy with their kitchen but doesn’t have the budget for a full remodel. Instead of tearing out cabinets or replacing countertops, we focus on the backsplash.
The best part: you don’t need a five-figure budget. You don’t even need four figures. With less than $50 and some creativity, you can refresh your backsplash in a way that feels stylish, modern, and intentional.
The Reality Check: What Traditional Backsplashes Cost
Let’s talk numbers.
- A traditional tile backsplash (installed professionally) can run $800–$1,500 for a small kitchen.
- Premium materials like marble, quartz, or glass mosaic? Try $2,000–$3,500+.
- Even a basic DIY tile job usually costs $250–$500 in materials.
For many homeowners or renters, that’s simply not realistic. But here’s what most people don’t realize: style doesn’t have to cost a fortune.
Over the years, I’ve worked with families, young couples, and even college students who wanted to refresh their kitchens on a dime. And trust me: some of the most creative, charming designs have come out of tiny budgets.
The Designer’s Secret: Think “Look for Less”
Here’s a little insider truth: many high-end kitchen looks can be replicated using budget-friendly alternatives that look nearly identical at first glance.
- Marble-look peel-and-stick tiles instead of real marble.
- Painted beadboard panels instead of wood cladding.
- Vinyl wallpaper in a Moroccan tile print instead of actual tiles.
Nobody walks into your kitchen with a magnifying glass. What they’ll notice is the overall vibe: clean, modern, stylish. And that can be achieved for under $50 if you know the right tricks.

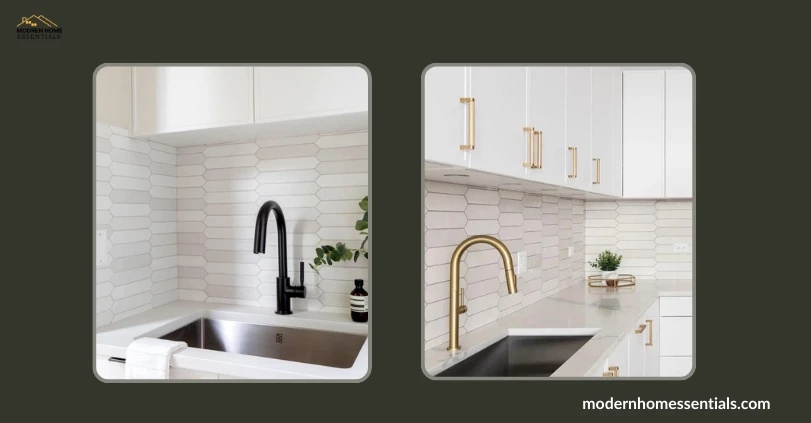
7 Gorgeous Kitchen Backsplash Ideas for Under $50
Now, let’s get into the fun part: specific design ideas you can steal. I’ll break each one down with costs, durability, style notes, and pro tips so you can decide which works best for your space.
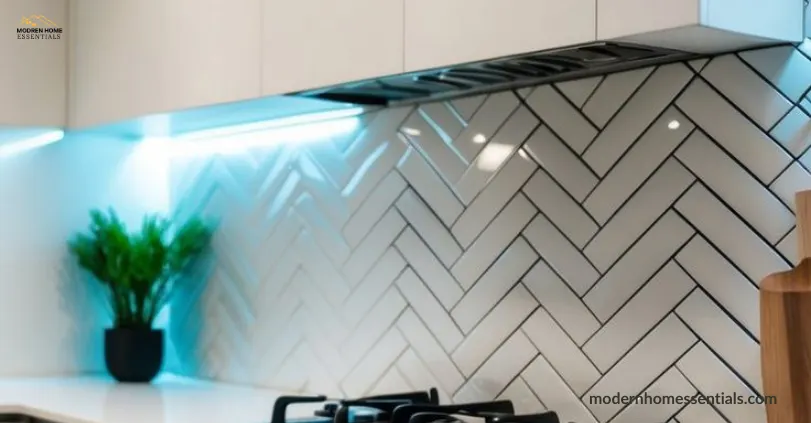
1. Peel-and-Stick Tiles (My #1 Budget Recommendation)
If you want the look of a real tile backsplash without spending hundreds or dealing with messy grout, peel-and-stick tiles are your best bet.
Why I love them:
- They’re shockingly realistic (some mimic marble, subway tile, or stone perfectly).
- Super renter-friendly: they come off without damaging the wall.
- DIY-friendly: no special tools needed, just scissors and a steady hand.
Cost breakdown:
- Small kitchen backsplash: 4–6 sheets.
- Each sheet costs around $5–$7.
- Total: $25–$40.
2. Paint (The Cheapest, Most Overlooked Solution)
Sometimes the simplest solution is staring right at you: paint the backsplash wall.
Why it works:
- High-gloss paint creates a wipeable surface that resists stains.
- You can use stencils to mimic tile or geometric patterns.
- Dark colors (like navy or forest green) add drama; light colors open up the space.
Cost breakdown:
- Quart of high-quality paint: $15–$20.
- Roller/brushes: $10.
- Total: $25–$30.
3. Beadboard Panels (Farmhouse on a Budget)
Beadboard is a classic designer trick for cozy, cottage, or farmhouse kitchens.
Why it works:
- Adds texture and warmth instantly.
- Can be painted in any color.
- Looks custom, even though it’s just a sheet panel.
Cost breakdown:
- 4×8 sheet of beadboard: around $30.
- Paint/sealant: $15.
- Total: $45.
4. Vinyl Wallpaper or Contact Paper
This is hands-down the easiest backsplash update, perfect for renters or anyone craving a bold pattern.
Why it works:
- Comes in endless designs: faux tile, faux marble, Moroccan prints.
- Easy to apply and just as easy to remove.
- Wipeable surface makes it practical.
Cost breakdown:
- One roll: $20–$30.
- Tools: none.
- Total: $20–$30.
5. Chalkboard Backsplash (Playful + Functional)
This idea surprises a lot of people, but it’s a favorite in family kitchens.
Why it works:
- Adds personality and fun, perfect for recipes, notes, or doodles.
- Creates a striking, modern black accent wall.
- Completely budget-friendly.
Cost breakdown:
- Chalkboard paint: $15–$20.
- Brushes/rollers: $10.
- Total: $25–$30.
6. Metal or Tin Panels
For a little vintage-meets-modern drama, tin ceiling tiles make a gorgeous backsplash.
Why it works:
- Reflective surface adds light.
- Brings texture and luxury at a low cost.
- Available at most hardware stores.
Cost breakdown:
- Tin backsplash panels: around $10 each.
- For a small space, you’ll need 3–4.
- Total: $30–$40.
7. Upcycled or Recycled Materials (One-of-a-Kind Look)
Some of the most jaw-dropping kitchens I’ve designed came from upcycling.
Ideas to try:
- Old wood planks for a rustic backsplash.
- Leftover tiles arranged into a mosaic.
- Salvaged tin or even mirror tiles for a chic look.
Cost breakdown:
- Free (if you use scraps).
- $10–$20 (if you buy second-hand materials).
- Total: $0–$20.
Mistakes People Make When Updating Their Backsplash (and How to Avoid Them)
- Forgetting to prep the wall: A clean, smooth surface ensures peel-and-stick or paint lasts longer.
- Choosing the wrong finish: Matte paint stains easily. Always go semi- or high-gloss for easy cleaning.
- Ignoring proportions: A busy backsplash with bold countertops can overwhelm the room. Balance is everything.
- it’s properly sealed against moisture.
My Designer’s Take: The $50 Backsplash That Looks Like $500
Here’s my honest recommendation: if you want the biggest visual impact for the lowest cost, go with peel-and-stick tiles. They’re durable, renter-friendly, realistic, and available in so many styles.
But if you want to get creative and have a little fun? Try mixing paint with stencils, or hunt down unique upcycled materials. The best kitchens don’t always come from catalogs; they come from personality and creativity.
Final Thoughts
Updating your kitchen backsplash doesn’t have to drain your savings. With just $50, you can transform the vibe of your kitchen and make it feel brand new.
Remember:
- Light, bright colors open up your space.
- Texture adds character.
- And most importantly, your backsplash should reflect you.
So grab your paintbrush, your peel-and-stick sheets, or that roll of wallpaper and get started. Your dream kitchen is closer (and cheaper) than you think.
FAQs
Q: What is the cheapest way to update a kitchen backsplash?
A: Paint or peel-and-stick tiles, both under $50 and renter-friendly.
Q: How long do peel-and-stick backsplashes last?
A: With proper wall prep, they can last 3–5 years (sometimes longer).
Q: Can I install a backsplash without removing the old one?
A: Yes! Peel-and-stick panels, wallpaper, or beadboard can go directly over old tile.
Q: Which backsplash style adds the most value?
A: Classic subway tile (or peel-and-stick versions of it) has the most timeless appeal.